Install the app from the App Store, allow location or pick a city, then do four things: save the places you care about, switch on alerts in the Notifications tab, choose a theme from the layout button on the Forecast tab, and add a widget to your Home Screen. No account is needed.
1. Install it
- iPhone and iPad: get Magic Weather from the App Store. It needs iOS or iPadOS 17 or later.
- Apple Watch: the watch app comes with the iPhone app.
- Mac: install it from the Mac App Store (macOS 14 or later). It runs natively on Apple silicon and Intel.
- Apple TV: search for Magic Weather in the App Store on the TV.
It is the same purchase everywhere, so Premium bought on one device is available on the others through your Apple Account.
2. Choose your place
On first launch the app asks for your location. Allow it, and the forecast follows you wherever you go. If you prefer not to, search for a city instead. The app works the same either way.
To change place later, tap the place name at the top of the Forecast tab. A sheet opens with a search field, the towns near you, and your saved places.
3. Learn the four tabs
| Tab | What it is for |
|---|---|
| Forecast | Now, the next 24 hours, the week, and the details. This is where the app opens. |
| Radar | A map of what is falling around you, with a loop of how it has been moving. |
| Notifications | Which alerts you get, and for which place. |
| Earth | A photoreal globe with live clouds, weather layers and storms. |
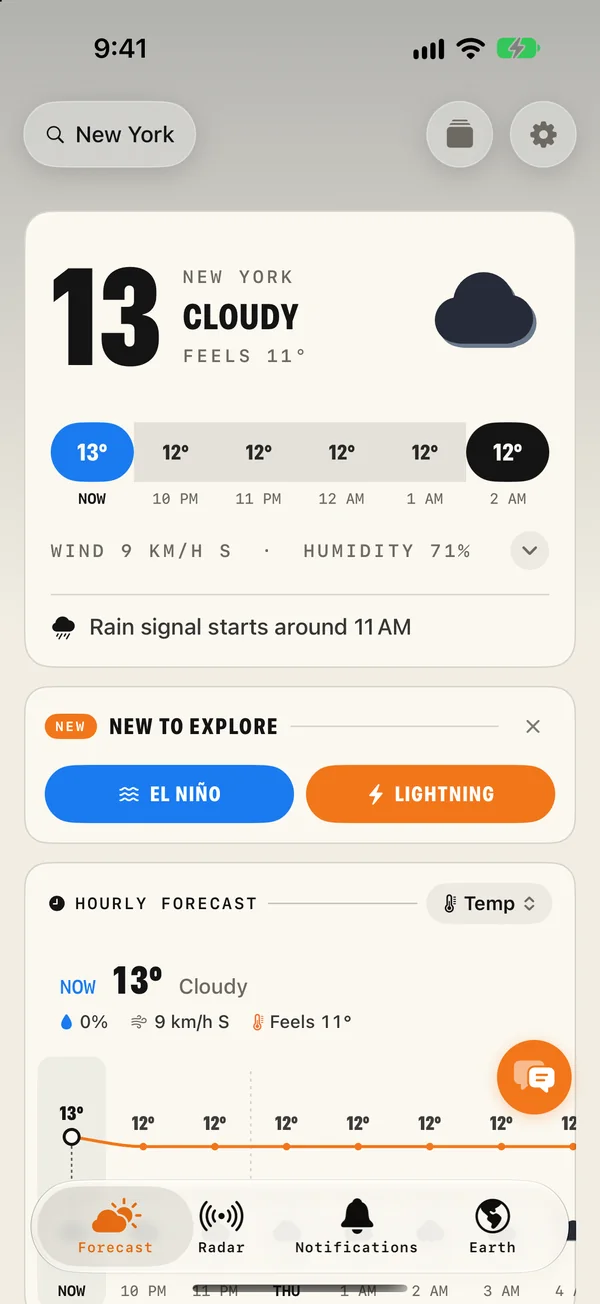
The Forecast tab reads from top to bottom: the temperature and sky now, the hourly forecast, the AI Weather Brief, the weathergraph, the 7-day forecast, the detail tiles, and Weather Trends. When there is a weather warning or a tip for the day, it appears above everything else.
4. Save the places you care about
- Tap the place name at the top of the Forecast tab.
- Type a city, or pick one from the Nearby list.
- Tap + to save it. Saved places appear in the list with their own weather.
Home, work, family and your next trip are a good start. More on managing places.
5. Turn on alerts
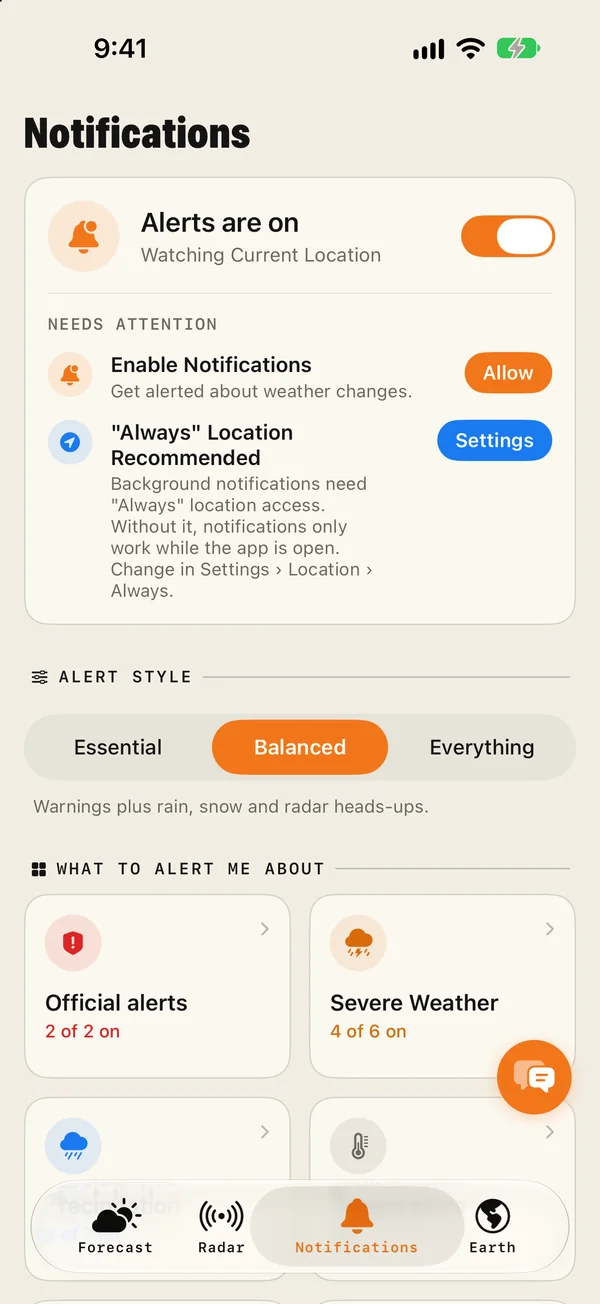
- Open the Notifications tab and make sure Alerts are on.
- If the tab shows "Needs attention", tap Allow so that iOS can show notifications.
- Set location access to Always if you want alerts to follow you while the app is closed.
- Pick an alert style: Essential, Balanced or Everything.
Balanced is a good default. It covers official warnings and dangerous weather, and adds heads-ups for rain and snow. See rain alerts and severe weather alerts for the details.
6. Make it look like yours
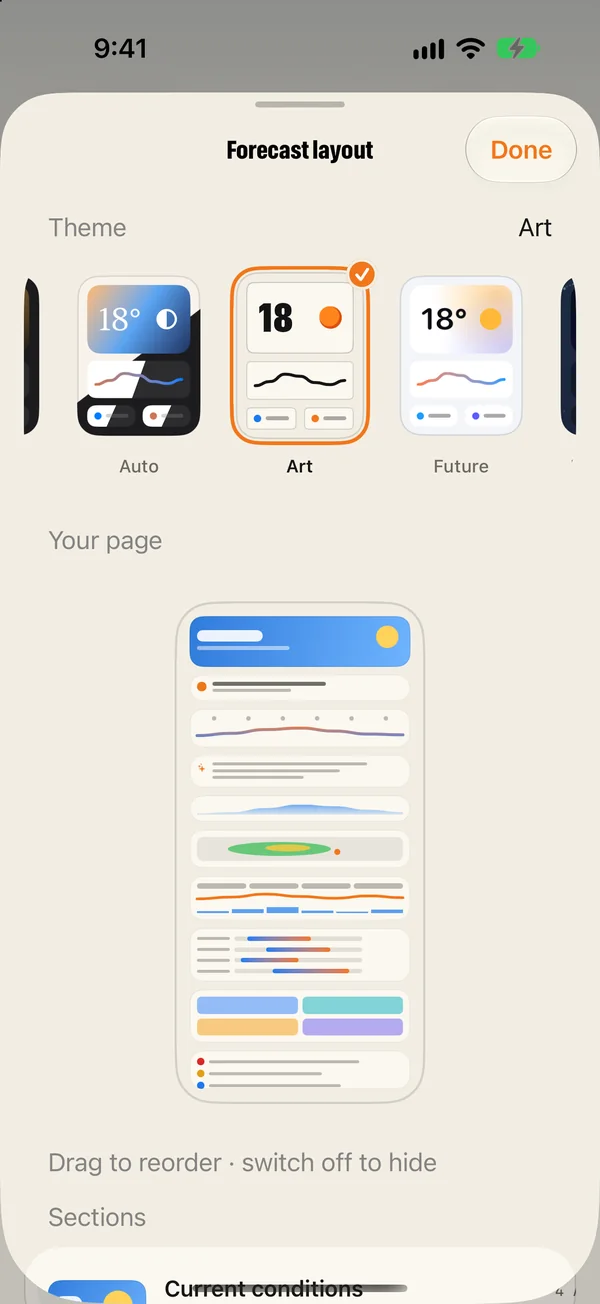
Tap the layout button beside Settings on the Forecast tab. The first row is the themes: tap one and the whole app changes at once, including the widgets and the Apple Watch. Below that you can reorder the sections of the Forecast page, hide the ones you never read, and choose which detail tiles appear.
More on themes, layout and app icons.
7. Set your units and language
Open Settings (the gear at the top right of the Forecast tab) and go to General. Temperature, wind, pressure and precipitation each have their own unit, so you can have Celsius with miles per hour if that is how you think. The app is available in nine languages.
8. Add a widget
- Touch and hold an empty spot on the Home Screen.
- Tap Edit, then Add Widget, and choose Magic Weather.
- Pick a widget and a size, then tap Add Widget.
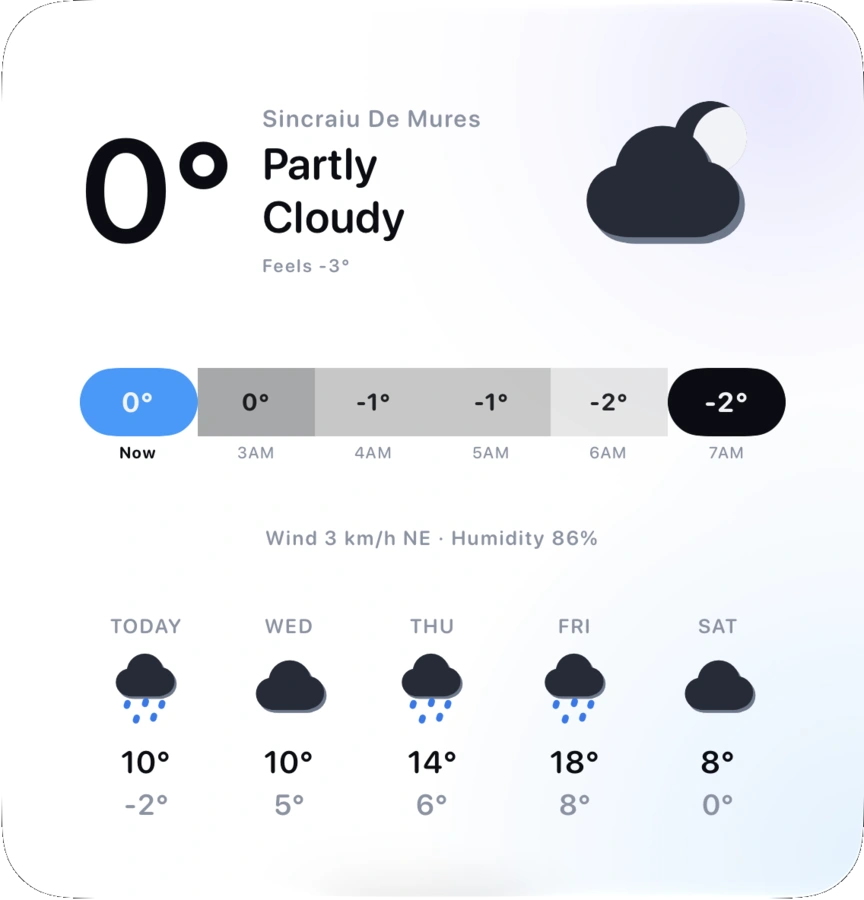
There are widgets for the current weather, the next hours, the forecast, the Earth, radar and trends. The full widget guide.
9. Spend a minute with the Earth
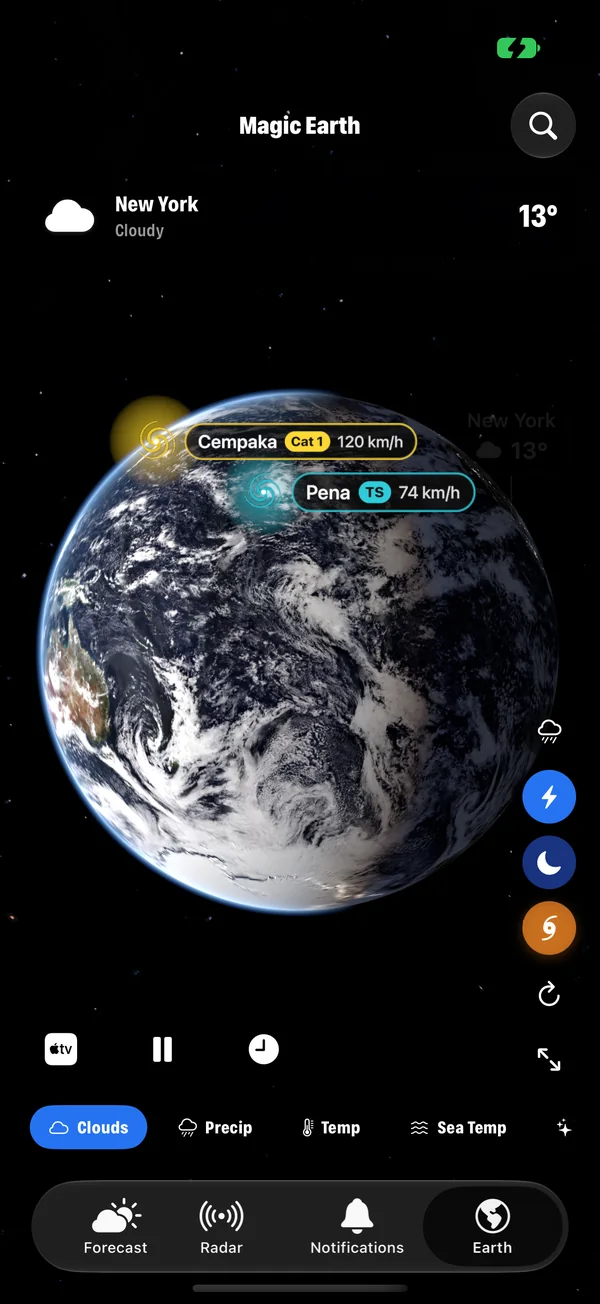
Open the Earth tab, drag to spin the globe and pinch to zoom. The clouds are from satellite imagery, and the night side shows city lights. Use the buttons along the bottom to switch layers, and tap a storm's label to fly to it.
Free and Premium
Magic Weather is free to download, with no ads and no account. Weather and basic Earth viewing work without subscribing. Premium, monthly or yearly, unlocks additional Earth layers, the full forecast, premium alerts and Weather Chat. Both plans give the same access, and Premium is shared with the Apple TV app. The App Store shows the price and any introductory offer for your region.
Where to go next
- The interactive guide shows every screen with numbered points you can tap.
- How to read the weathergraph, the app's picture of the week.
- Weather Chat and the AI brief, if your device has Apple Intelligence.
- Support, if something is not working.
Common questions
Is Magic Weather free?
It is free to download. Weather and basic Earth viewing work without subscribing. Premium, available monthly or yearly, unlocks additional Earth layers, the full forecast, premium alerts and Weather Chat. The App Store shows the price and any free trial offered in your region.
Do I need an account?
No. Magic Weather has no account and no sign-up. Your places and settings are stored on your device.
Which devices does it run on?
iPhone and iPad with iOS or iPadOS 17 or later, Mac with macOS 14 or later, Apple Watch with watchOS 10 or later, and Apple TV with tvOS 17 or later.
Can I use it without sharing my location?
Yes. Location is optional. You can search for a city and use that instead, and the app will show the forecast and alerts for the place you chose.
How to add weather widgets to your iPhone Home Screen and Lock Screen
Add Magic Weather widgets to your iPhone Home Screen, Lock Screen and Mac desktop: step-by-step, with what each widget shows and fixes if one is stale.
How to get rain alerts on your iPhone before it starts
Set up rain alerts on iPhone with Magic Weather: a notification before rain starts and stops, a Live Activity that follows the shower, and fixes if none arrive.
Make it yours: themes, layout and app icons in Magic Weather
Choose from eight themes, reorder or hide sections of the Forecast page, pick your detail tiles and change the app icon. A guide to making it yours.